A clogged drain can bring your whole family to a standstill. Whether it is a kitchen sink full of soapy water or a bathroom toilet that won’t flush, the frustration is the same. Most people grab a tool and start pumping, but they often do it wrong. Learning how to use a plunger the right way can prevent you from calling a professional for a simple restoration. It is the most basic skill in home maintenance, yet it is rarely taught correctly.
This guide focuses on the physical tools and the management of household repairs. Please note that calltheplumb.com provides educational content and does not host software or provide direct plumbing services. Our purpose is to provide informational resources to help you manage your property plumbing system safely and effectively.
Understanding the Mechanics of Suction
Before you start, you ought to know that a plunger does not simply push a clog down the pipe. In many cases, it pulls the clog up to break it apart. The tool works by using displaced air and water to create stress. When you push down, you exert force. When you pull up, you create a vacuum.
To achieve success, you must have a perfect seal. If air or water escapes from the sides of the rubber cup, you lose the pressure needed to move the blockage. This is why deciding on the right tool for the unique drain is the most crucial step in the system.
The Role of Water in Unclogging
Air compresses, but water does not. This is a scientific truth that makes plunging viable. If you try to plunge a dry drain, you are just moving air around. You need enough water in the basin to cover the rubber head of the device. This water acts as a heavy weight that hammers against the clog when you move the handle.
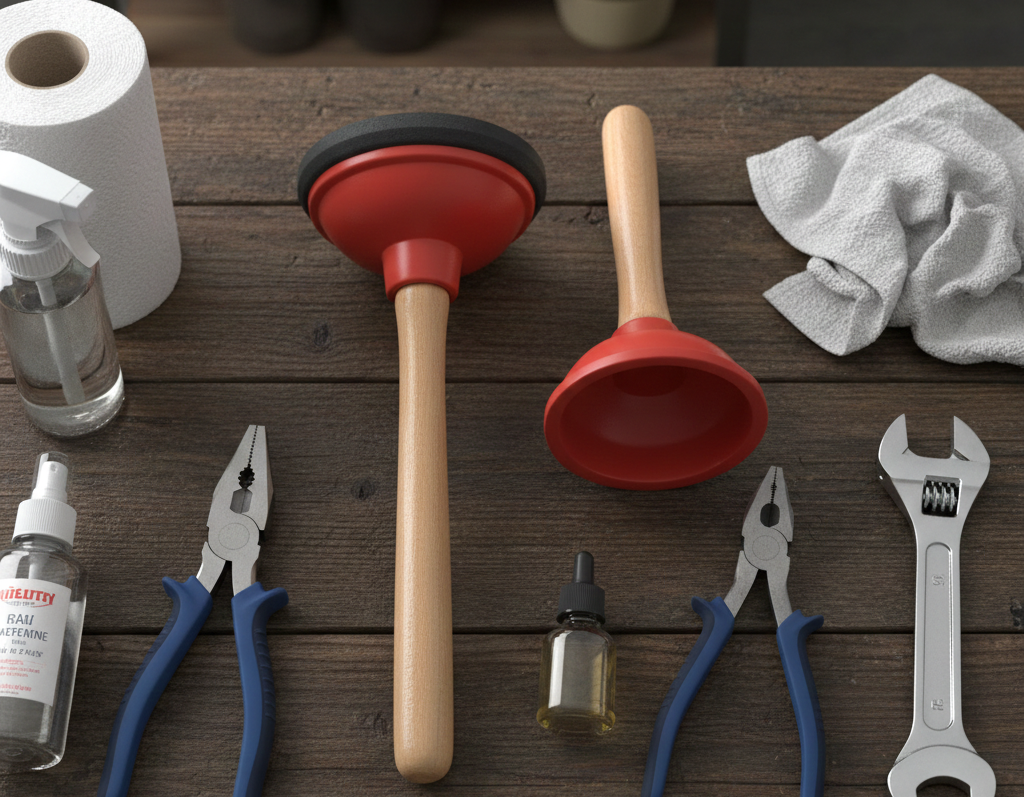
Different Types of Plungers
Not all tools are built for the same activity. Using a sink plunger on a bathroom toilet is a common mistake that results in failure.
The Cup Plunger
This is the conventional tool with a flat-bottomed rubber cup. It is designed specifically for flat surfaces. You ought to use this for:
-
Kitchen sinks
-
Bathroom basins
-
Bathtubs
-
Laundry tubs
The Flange Plunger
Also called a toilet plunger, this tool has a fold-out rubber flap (the flange) at the bottom. This flap is designed to match snugly inside the curved opening of a bathroom drain. Without this flap, you cannot get the seal needed to clear a toilet clog.
The Accordion Plunger
This tool is manufactured from tough plastic with many folds. It can create loads of stress, but it is much more difficult to apply. It is generally reserved for very stubborn toilet clogs. Because it is made of stiff plastic, it can sometimes scratch the porcelain of the bowl if you are not careful.
Step-by-Step: How to Use a Plunger for Best Results
Follow this workflow to ensure you are making use of the right technique for any drain in your home.
Preparation and Safety
Check the water level first. If the sink or toilet is overflowing, scoop some water out into a bucket. If it is dry, add enough water to cover the plunger head. Wear gloves and eye protection, as plunging can sometimes cause splashes.
Step 1: Create the Seal
Lower the tool into the water at an angle. This allows air to escape from the cup and fills it with water instead. Place the rubber head immediately over the drain hole. If you are working on a sink, use a wet rag to plug the overflow hole. This prevents pressure from escaping through the secondary vent.
Step 2: The Initial Push
Push down slowly. Your aim here is not to clear the clog yet, but to push out any final air. Once you feel the resistance of the water, you are ready to start the real plunging motion.
Step 3: The Power Stroke
Maintain the seal and move the handle up and down forcefully. Keep the moves vertical. Do not allow the seal to break. Do this for about 15 to 20 seconds. Remember that the “up” stroke is just as important as the “down” stroke for breaking up the debris.
Step 4: Release and Check
Pull the tool away quickly. If the water rushes down the drain, you have succeeded. If the water remains still, repeat the process. It may take three or four tries to move a heavy blockage.
Comparison of Common Tools
| Feature | Cup Plunger | Flange Plunger | Accordion Plunger |
| Material | Soft Rubber | Heavy-duty Rubber | Hard Plastic |
| Best Surface | Flat (Sinks) | Curved (Toilets) | Curved (Toilets) |
| Ease of Use | Very Easy | Moderate | Difficult |
| Pressure Level | Low to Medium | Medium | High |
Pros and Cons of DIY Plunging
Using a plunger is a great way to manage minor family troubles. However, there are trade-offs to consider when deciding to fix it yourself versus hiring help. You can find more advice on when to call for help at calltheplumb.com.
| Pros | Cons |
| Inexpensive: A one-time purchase. | Physical Effort: Can be tiring. |
| Fast: Most clogs clear in minutes. | Messy: Risk of splashing water. |
| Safe: No harsh chemicals used. | Limited: Cannot fix broken pipes. |
| Convenient: No wait for a service call. | Potential Damage: Can scratch finish. |
Best Practices for Drain Maintenance
To avoid having to learn how to use a plunger out of necessity, you should practice regular maintenance. Keeping your pipes clear is easier than fixing a total blockage.
-
Use Drain Guards: Mesh screens catch hair and food particles before they enter the system.
-
Hot Water Flush: Once per week, pour a gallon of hot water down your sink to soften away grease.
-
Baking Soda and Vinegar: This natural combination can help keep drains smelling fresh.
-
Avoid Grease: Never pour cooking oil or fats down the drain. It hardens like wax.
-
Check Your Vents: Sometimes a slow drain is caused by a blocked roof vent.
For more detailed courses on maintaining home fixtures, check out the latest articles on calltheplumb.com. We recommend keeping a dedicated plunger for the bathroom and a separate one for the kitchen to maintain hygiene. It is also wise to inspect pipe joints under the sink after plunging to ensure the pressure did not cause a small leak. Always check for clogs early to avoid a major flood.
Common Mistakes and Misconceptions
Many people struggle with plumbing because they follow bad advice. Here are the most frequent errors:
Using Chemical Cleaners First
Many people pour liquid chemicals down a clogged drain and then try to plunge. This is very dangerous. If the plunger splashes, those chemicals can burn your skin. Also, if the plunger does not work, you now have a sink full of toxic water.
Plunging Too Fast
Speed is not as important as the seal. If you move too fast, you are more likely to break the vacuum. Slow, regular, and forceful strokes are much more effective than rapid, shallow ones.
Forgetting the Overflow Hole
Most bathroom sinks have a small hole near the top to prevent flooding. If you do not cover this with a finger or a rag, the air pressure simply shoots out of that hole instead of hitting the clog.
Using an Old, Cracked Plunger
Rubber dries out over the years. If your tool has cracks or the rubber is stiff, it will not form a seal. It is worth spending a few dollars to replace these essential plumbing tools.
Plunger Selection Workflow
| Situation | Recommended Tool | Why? |
| Kitchen Sink Clog | Cup Plunger | Fits perfectly over the flat bottom. |
| Toilet Overflowing | Flange Plunger | The flap seals the internal throat. |
| Bathtub Draining Slowly | Cup Plunger | Works best on flat porcelain surfaces. |
| Deep Toilet Blockage | Accordion Plunger | Provides extra force for deep clogs. |
FAQs
Can I use the same plunger for the sink and the toilet?
While you technically can, it is not recommended for sanitary reasons. Toilets contain bacteria you do not want in your kitchen. It is best to own at least two and mark them clearly.
Why won’t my toilet plunger seal?
If the flange is tucked inside the cup, it acts like a sink plunger. Make sure the rubber flap is pulled out. Also, ensure there is enough water in the bowl to cover the head.
Is it possible to plunge too hard?
Yes. If you have old, fragile pipes or plastic traps that are loosely connected, intense pressure can cause them to pull apart. Use firm pressure but avoid “slamming” the handle.
What if plunging does not work after several tries?
If you have tried for several minutes and the water has not moved, the clog might be too deep or made of a solid item. At this point, you may need a drain snake or a professional.
Should I use soap while plunging?
A little bit of dish soap can act as a lubricant for a toilet clog. It can help the blockage slide through the pipe once the pressure starts moving it.
How do I clean my tool after use?
Rinse it in the toilet while flushing several times. You can also spray it with a household disinfectant or use a bucket of water mixed with a small amount of bleach.
Conclusion
Mastering how to use a plunger is a critical part of home management. It allows you to take control of common household emergencies without panic. By selecting the right device, growing a strong seal, and using the correct physical technique, you can resolve most clogs on your own.
Remember to prioritize safety by avoiding chemicals and wearing protection. Keep your gear in good condition and maintain your drains often to prevent problems before they start. While some issues require a professional, a good plunger and the right information are generally all you need to keep your water flowing freely.